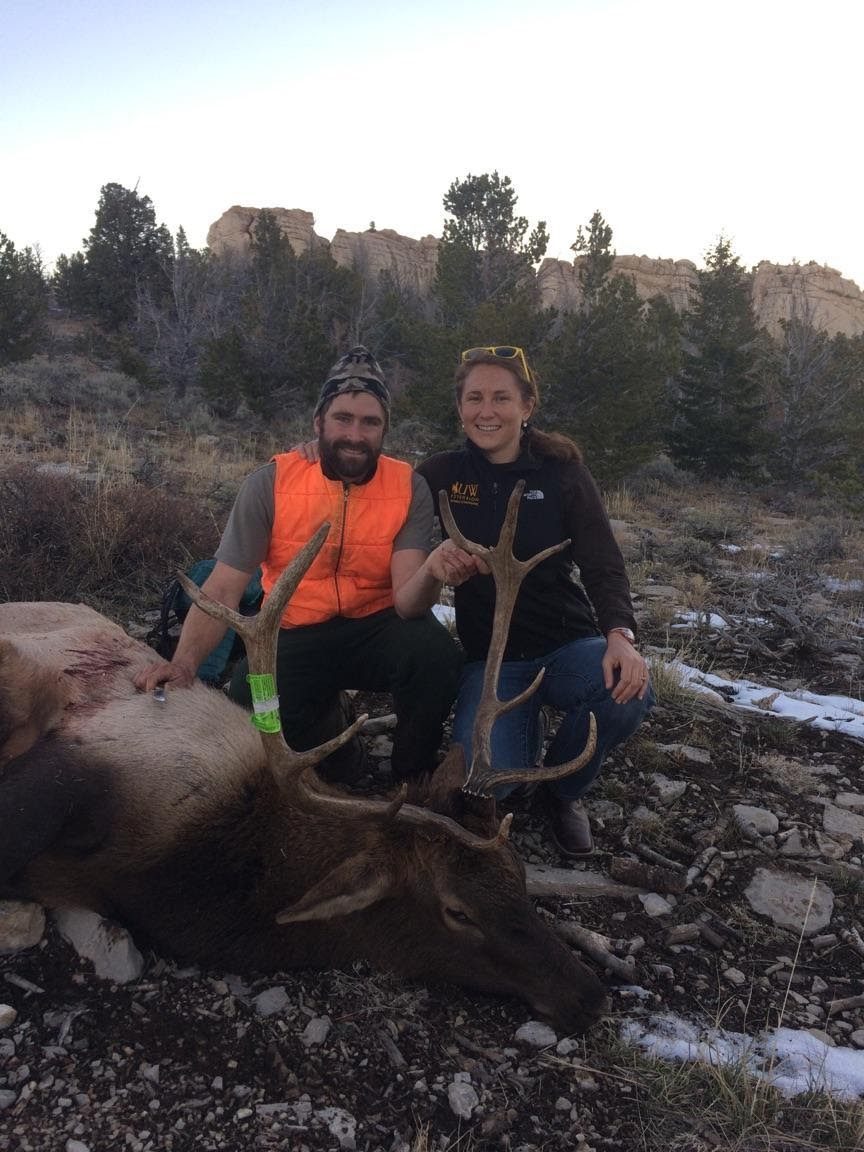
Last weekend, my husband shot his first elk. He grew up deer hunting in Michigan and then Montana, and I grew up not hunting at all. I soon realized that getting your first elk is a pretty big deal!

Options
After the initial excitement, we realized that we didn’t know what to do with 200 pounds of elk meat. So we talked about our options: We could give most of it away. We could buy a second freezer. We could make lots of jerky. Or, I could put my food preservation skills to use and can do it! In the end, we shared some of the meat with two friends who helped drag the elk out (thanks, Taylor and Ryan!) and bought a new freezer. While the freezer was big enough to store all the remaining meat, I decided to use some anyway. I’ve heard it’s delicious, and I thought it would be good practice since I’ve been getting some questions about canning meat but had never tried it.
Canning Elk
My first step was to find good, research-tested instructions for canning elk, so I looked at the National Center for Home Food Preservation guidelines for canning meat. I soaked the meat in brine, picked up some pint jars and tomato juice, and was ready to get started!
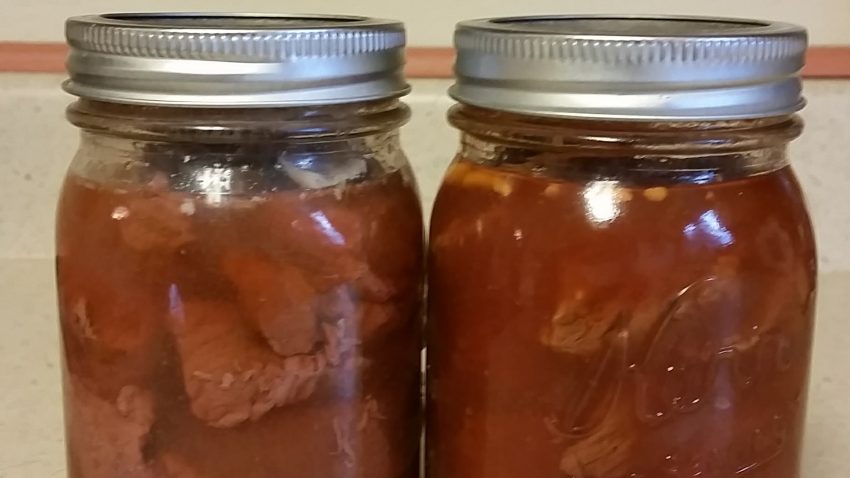
I choose the hot pack (precooking) method instead of the raw pack for the elk meat – this is recommended with lean meats for better quality. After packing the meat, jars can be filled with broth, meat drippings, water, or tomato juice. I tried broth meat drippings and tomato juice in my jars.
 Elk meat canned in meat drippings (left) and tomato juice (right)
Pressure Canning
Canning Elk was a good reminder that pressure canning takes a long time! When we teach food preservation classes, we remind people to give themselves enough time to complete the canning process. You need to be able to pay attention during pressure canning to maintain the right pressure so you don’t want to get distracted and leave the kitchen.
After the canner has been vented for 10 minutes and the jars have been processed for the right amount of time (75 minutes for pint jars of elk meat), the next step is to let the pressure canner depressurize. This can take an additional 30 – 45 minutes. Finally, you remove the weight from the vent pipe and wait 10 more minutes before taking the lid of the canner and removing your jars. (And then you wait another 12-24 hours while your jars cool – and then you can eat!)
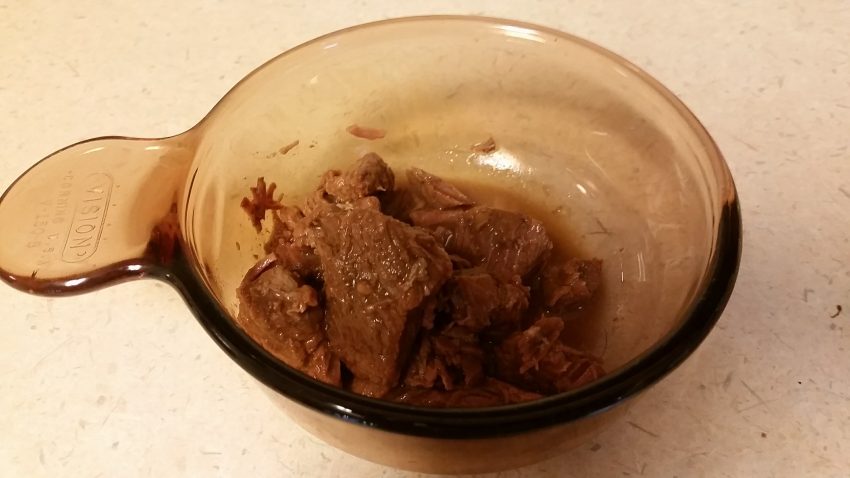
 Canned elk meat – ready to eat for an easy dinner!
So far, we’ve tried one of the jars made with meat drippings, and it was delicious! Overall, if you have the freezer space, freezing your game meat is easier. But if you’re a bit short on space or just want to try canned game meat, pressure canning is worth a try! If you’re new to canning, contact your local UW Nutrition and Food Safety Extension Educator for help or to attend a class. Happy hunting season!
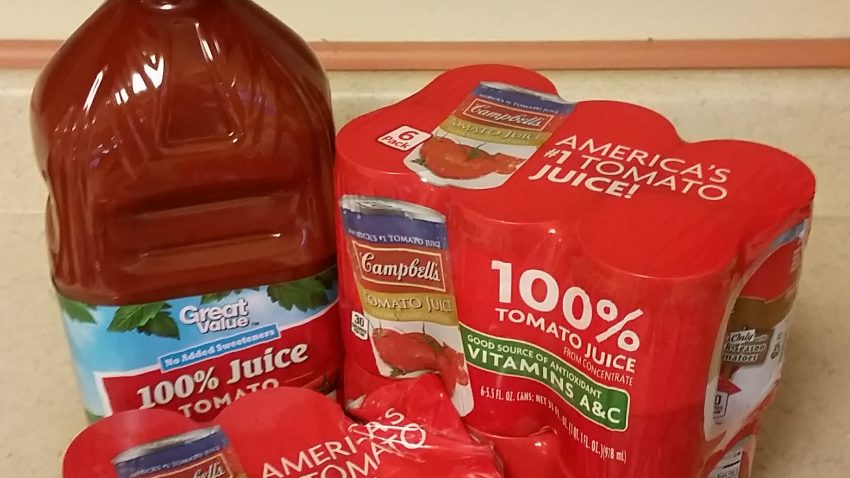
 What happens when you ask the hunters to go to the store and get “a little tomato juice”?